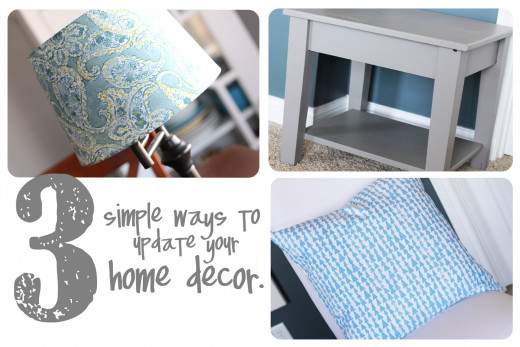
3 Simple ways to update your Home Décor

3 Simple ways to update your home décor
What are three simple and inexpensive ways to update your home décor?
- Paint a piece of furniture.
- Sew simple pillow covers for your existing couch pillows.
- Buy, embellish, or make a new lamp shade.
3 Simple ways to update your home decor
Inexpensive ways to update your home décor
Every winter I find myself a bit cooped up at home. What happens? I see the same rooms, the same house, the same colors, and the same decorations EVERY day. By mid morning, I seem to find something I want to change. We don't have an endless pit of dollar bills laying around to fund all my decorating ideas, nor do we have a specific line item in our budget dedicated to interior home decorating.
Getting creative can often save lots of money. Upcycling items you already own is a GREAT way to save on cost. We have learned there are a few pieces of furniture in our home that we will always buy new, but as long as we have the energy to sand, paint, sew, or hot glue, we will continue re-using furniture in our home.
#1. Paint a piece of your furniture
Paint your furniture
Before picture
Sanding the high gloss paint
Paint a piece of furniture
Some furniture is going to weather the test of time and withstand the ever changing trends in our culture. Antique furniture is absolutely beautiful in its original glory, and I highly recommend keeping antique furniture in its authentic state.
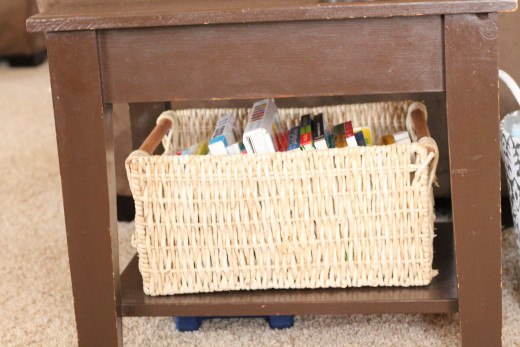
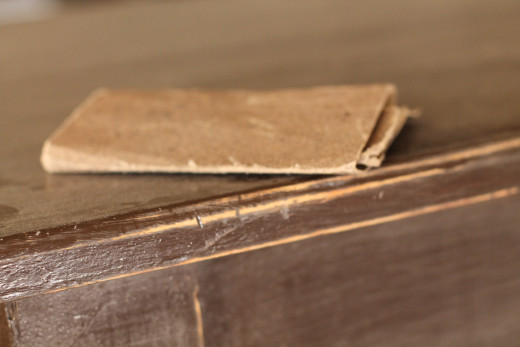
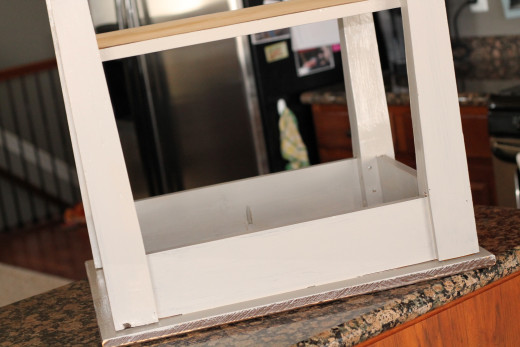
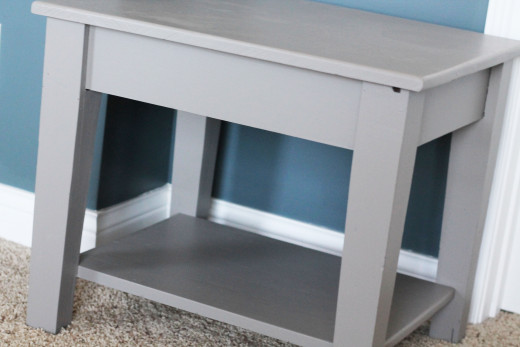
Some furniture, on the other hand, deserves a face lift every once in a while. We have an end table in our living room that stands with the crowd needing some painting.
We bought it the previous summer at a local garage sale for SIX DOLLARS. We can't go wrong with a six dollar end table. The table was obviously hand built by it's previous owners. They painted it with a high gloss chocolate brown paint. The table actually didn't look terrible in our living room, but number one, I am not a fan of high gloss paint, and number two, we have enough chocolate brown in our living room already.
Solution: Paint the table.
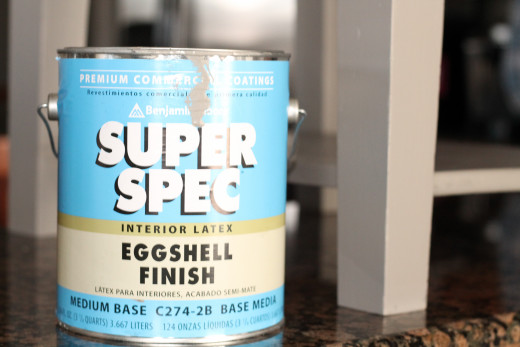
Since we have a lot of leftover paint on hand, I decided to shuffle through the old cans and find a color I could use. We already had sandpaper and a paint brush. We used paint we already bought. This project cost us a total of six dollars.
Painting the bottom of the end table
Painting, painting, and painting
Click thumbnail to view full-size


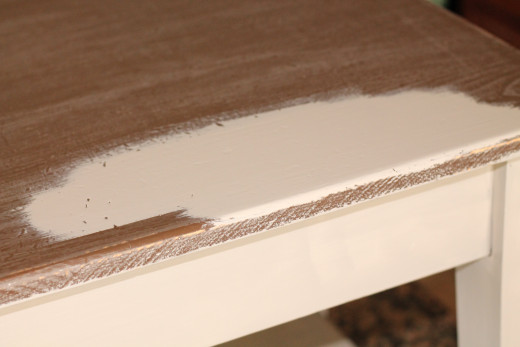
How to paint a wooden end table
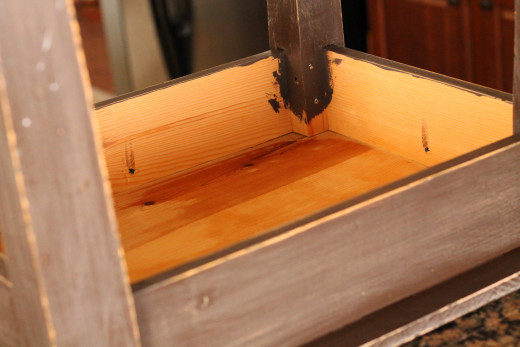
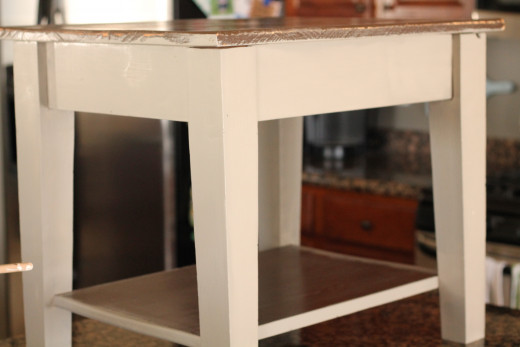
The end table we painted was solid wood. (thankfully.) First, we sanded down the table. We recommend sanding down almost any piece of furniture prior to painting. Since this table was originally painted with a high gloss, I was generous with my sanding. I used some pretty rough sand paper to get most of the shine off. While I sanded out a few bumps and bruises, I wasn't out to get a refined finish. We have a one year old, and sanding out one nick is not going to make a difference when paired with many more to come.
Second, we wiped down the table with a damp cloth. I cleaned the table well and ensured I did not miss any spots when sanding.
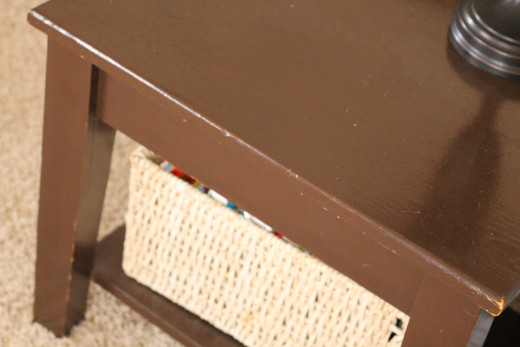
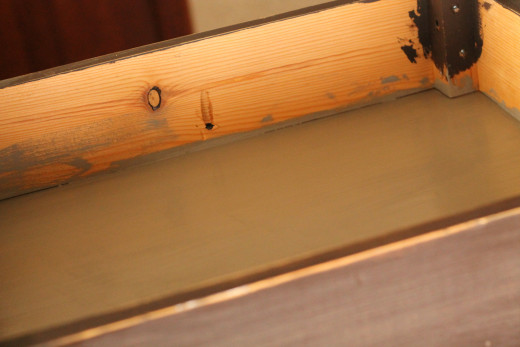
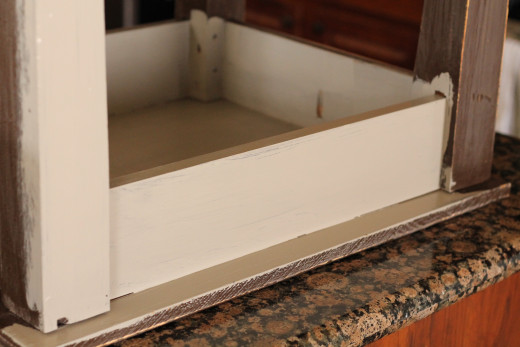
Third, we started painting. We started with the BOTTOM of the table. Why do we paint the bottom of the table? We spend a lot of time sitting on the floor in our home. With children, we learn that sitting on the floor seeing everything from three feet off the floor gives us a bit of a different perspective. Plus, many families come over with their children, and they end up sitting on the floor too. The cleaner and refined our table looks, the better.
Freshly painted re-purposed furniture
#2. Update your pillow covers

Use your old pillow cover as a template
Simple homemade pillow covers
If you have a sewing machine, and if you know how to use your sewing machine, you can update your pillow covers in a matter of 30 minutes. I promise.
I have done a very thorough tutorial of creating a simple envelope cover in a past hub, but here are some basic instructions to remind you how to make a simple envelope pillow cover.

Creating a simple envelope pillow cover
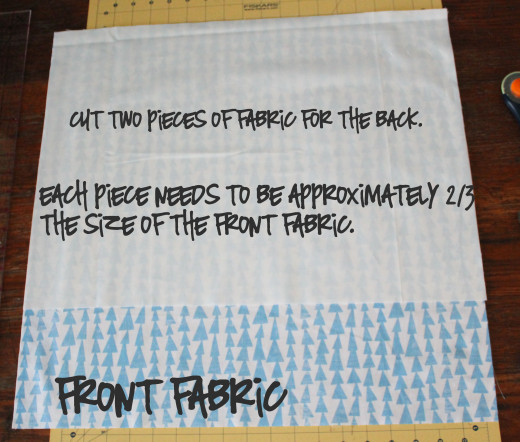
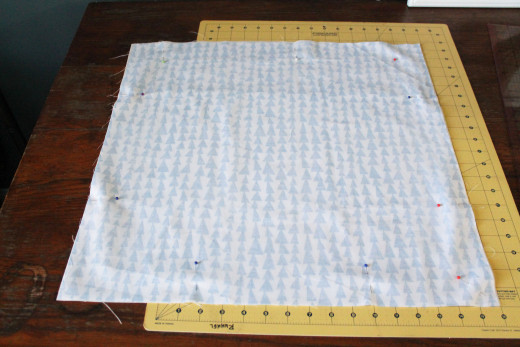
Using your old pillow cover as a template, cut out a piece of fabric for the front of your pillow. Be sure to allow for a seam allowance around the outside. I usually leave a quarter inch or a half of an inch of fabric for seam allowance. Remember though, if you over size your pillow cover, you can EASILY sew it smaller.
Cut out two pieces of fabric for the back of the pillow. Each of them needs to be approximately two thirds the size of the front fabric. I usually use a plain white fabric for the back of the pillow, but feel free to use the same fabric for the front and the back.
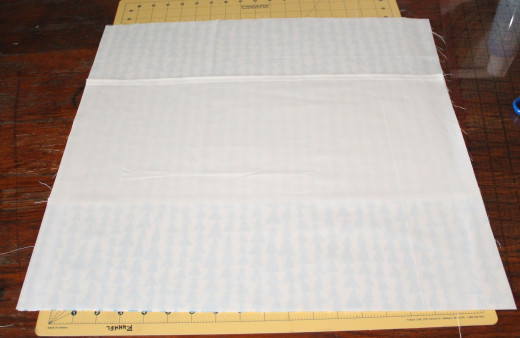
Take both pieces of fabric for the back of your pillow and hem one long side on each piece of fabric. I usually fold over about a quarter inch of fabric and iron a good crease. Then I sew down that crease. This is a very simple hem to create a finished edge.
Stack your fabric on the table to create a sandwich. Lay the fabric for the front of your pillow FACING UP. Lay both pieces of fabric for the back of your pillow with the right sides (finished hem sides) FACING DOWN.
Pin all the way around your pillow.
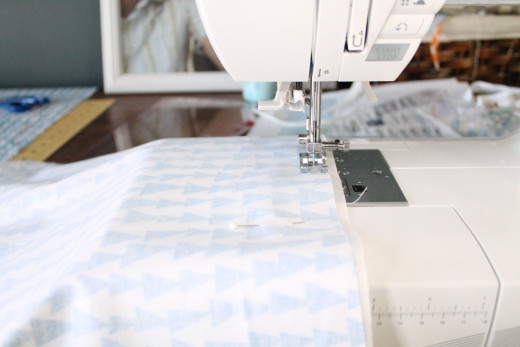
Sew all the way around your pillow.
Flip your pillow inside out and your have a new, fresh, lovely, and updated pillow cover.
I tend to buy lots of my fabric online or from a local quilt shop, but Jo Ann's has some great fabric these days. With a coupon (they send them via their emailing list), you can buy fresh and modern fabric for less than $5.00 a yard. One yard of fabric for the fronts and one yard of fabric for the backs should be completely sufficient to cover two good sized pillows. This is a GREAT way to avoid buying the $20 to $30 pillows at many local home goods stores.
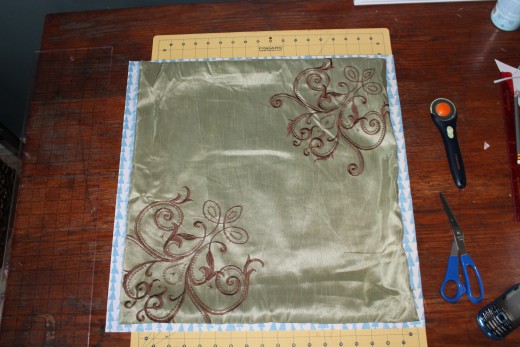
Embroidered floral pillow from Target

Pillow fabrics
I spend quite a bit of time browsing fabrics online. I find the variety of available fabrics intriguing. The colors and patterns are gorgeous! I see new designers coming onto the market all the time.
In case you are wondering about the fabrics in the pictures, they are as follows:
- The light brown / gray floral print fabric is Organic Poppies in Shroom by Mod Basics 2 Collection from Birch Fabrics.
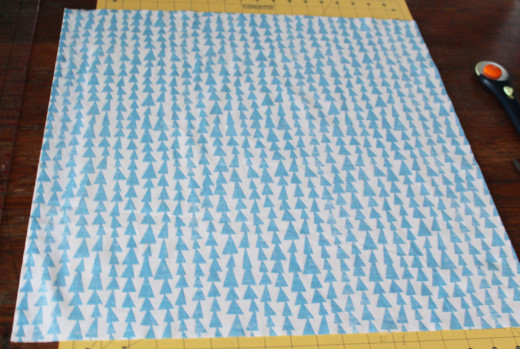
- The light blue fabric with the stacked triangles is Pilvi in Sky by Lotta Jansdotter from her Mormor line. If anyone asked me right now what my favorite line of fabic is, this one is it right now!
- Since I do not know how to embroider, I decided to purchase an embroidered pillow from Target. The embroidery adds some great texture and variety to our pillow collection.
If you are up for learning some embroidery techniques, I found a good tutorial here.
Fresh and modern pillow covers

#3. Change your lamp shades
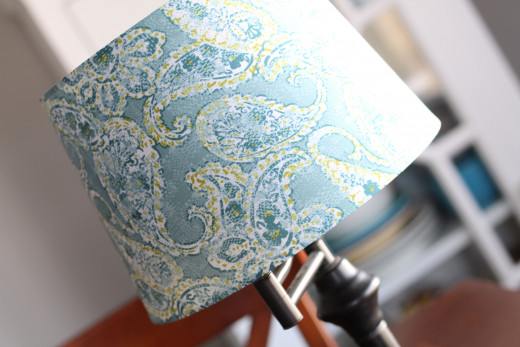
DIY embellished lamp shade
Updating your lamp shades
So we sort of cheated on this one. We ALMOST always come up with some way to make all of our projects. This project...well...we bought three new lamp shades for our living room.
If you are up for decorating your own lamp shade, I found some options at the following link: Lampshade Craft Project.
Or, you can click on the video to see an example of a DIY embellished lamp shade.
Maybe you will be more industrious than us and make your own lamp shade. Please tell us if you have found a great way to make your own lamp shade from scratch.
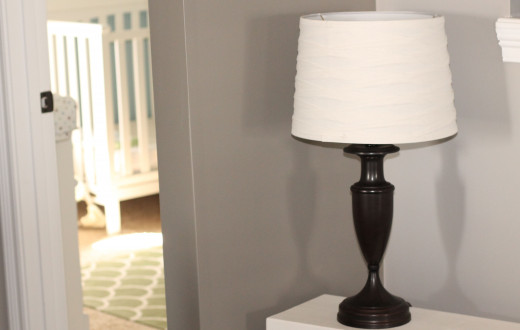
Small blue and green floral lamp shade
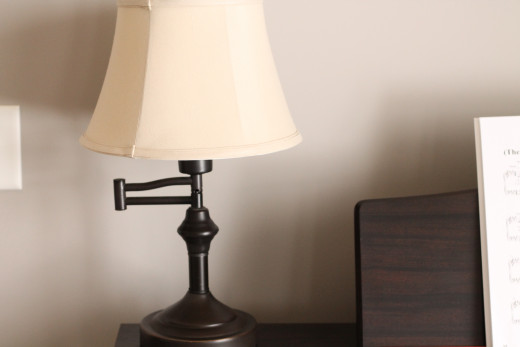
Existing lamp shade to be replaced
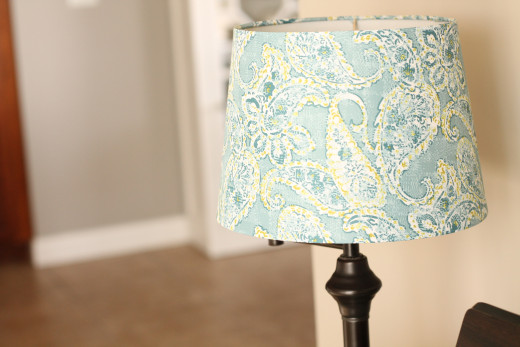
Fresh and modern lamp shades
Our old lamp shades were perfectly fine. They were only about five years old. BUT, they were a bit yellow, and the shape of the lamp shades were a bit dated.
I did a little searching online, and after browsing some online stores for a few days, I ended up with three lamp shades from Target. I was very VERY tempted to buy the brightly colored geometric patterned lamp shades, but I felt the colors would box me in. Do you ever find yourself with a brightly colored piece of furniture? And, then you feel like EVERYTHING else you put in the room MUST coordinate perfectly with that piece of brightly colored furniture?
I decided to go the safe route with the lamp shades and buy two white shades and a small blue and green floral lamp shade.
Small change...huge impact
Like I mentioned, the existing lamp shades really were just fine, but I didn't feel they fit well with our home décor. The small change of updating our lamp shades made a huge difference for me in our living room.
Fresh white lamp shade
New ideas?
Do you have any ideas to share that you have used to easily update or change your home decor?


