Sewing Homemade Paper Bunting

A tutorial for sewing homemade paper bunting.
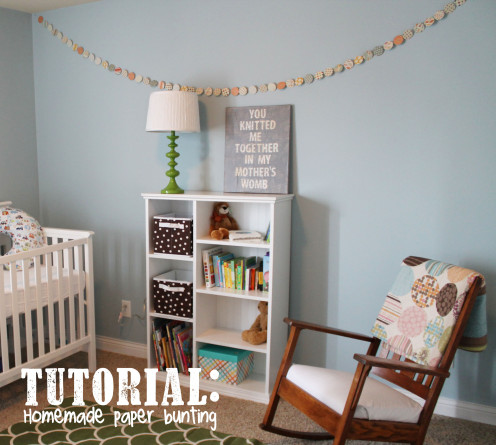
Do you ever wish you could find a craft project that you could do from start to finish in one day? Making homemade bunting is seriously a great place to feed that creative side of your brain. You can finish this project in just a couple hours. Best of all, you can really transform the look of a room by adding some bunting. You don't need to be a perfectionist, and you don't need to be a master crafter in order to make very pretty paper bunting.
While I used my bunting at home, don't forget you can use it elsewhere. If you are a teacher, bunting is a great way to add color and dimension to your decorations!
The perfect nursery decor.
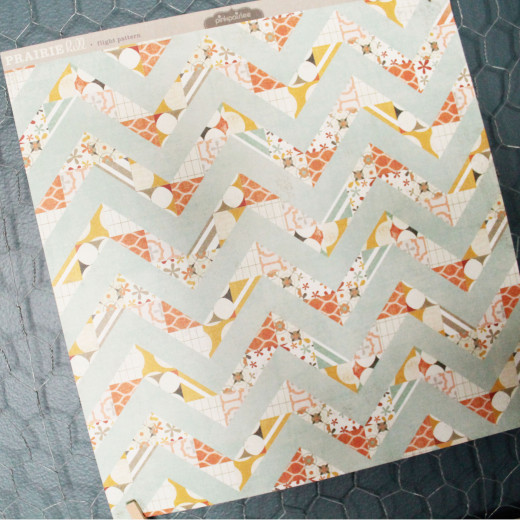
Prairie Hill - Pink Paislee Paper
Materials and Supplies
- scrapbook paper.
- pencil.
- scissors or a
circle cutter.
- thread.
- sewing machine.
- nails.
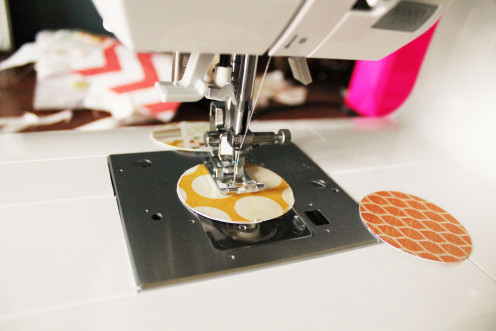
Once you have your shapes cut out, this project goes so fast. You know why? You can use your sewing machine to sew the paper together!
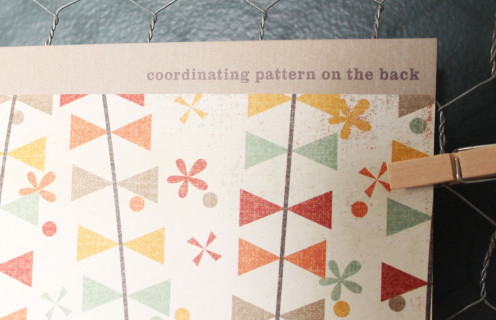
Double sided scrap booking paper.
#1. First things first. Decide your shape.
I chose circles. Since we are sewing the bunting together with a sewing machine, keep in mind that the thread is not heavy duty enough to keep you shapes right side up at all times. Sometimes the shapes spin around or flip up side down. I'd recommend choosing a symmetrical shape. Squares, hexagons, rectangles, or ovals. You could even choose something a little unique. Clouds, bow ties, or flowers. Use your creativity!
#2. Pick out your favorite scrapbook paper.
I always love having a great reason to buy some pretty scrap booking paper. There is one important element when buying paper for this project. MAKE SURE THE PAPER YOU USE IS DOUBLE SIDED. Since the bunting is going to twist and flip around, you will want to have paper that is pretty on both sides.
If you have a Hobby Lobby near you, I'd recommend browsing their papers. I think they have some very fun and trendy selections.
Fiskars Paper cutter

#3. Find a good movie to watch and cut out your shapes.
Cutting out your shapes is the most lengthy part of the process. I would recommend turning on a great movie as you set aside an hour to cut out your shapes. I have a Fiskars circle cutter that works great and probably reduces the time it takes me to cut out my shapes in half. A sophisticated template isn't necessary though. You can create a template out of any sturdy cardboard. Find an empty cereal box or an old shoe box. You can also trace around the top or bottom of, for instance, a kitchen cup. Whatever you find, now is the time to begin tracing. Enjoy the process! If you get tired of tracing and cutting, take a break and come back to it tomorrow.
Sometimes it's a bit tricky figuring out how many shapes you need to cut. Go and drape your thread where you are going to hang your bunting. Once you know how much thread you need, measure the length of thread and divide it by the length of your shapes. Be sure to take into account the space between the shapes. You don't need exact measurements. This craft is VERY forgiving.
Perfectionist?
Are you a perfectionist when you sit down and create?
#4. Sew your shapes together.
Did you know you can sew paper together? You don't need a special needle or special thread. Use your basic needle and your favorite color of thread and begin sewing your bunting! The best part about this step in the process is that IT GOES SO FAST! Sewing the paper together is so much faster than stringing your bunting together with glue or staples. I usually leave about one half of an inch between shapes. Remember not to be too much of a perfectionist. No one is going to notice if all your shapes are spaced evenly.
Start with at least six inches of excess thread pulled out of your machine. With your needle down, raise your presser foot enough to slide the paper underneath it. Rest the paper up against the needle. Slowly sew through the middle of your shape. Continue sewing about half an inch past your shape. DO NOT CUT YOUR THREAD. Instead of cutting your thread, slide another piece of paper under your presser foot and keep on sewing. Do you best to sew in a straight line and to space your shapes evenly, but, as I've already mentioned, this is not a project that beckons perfection.
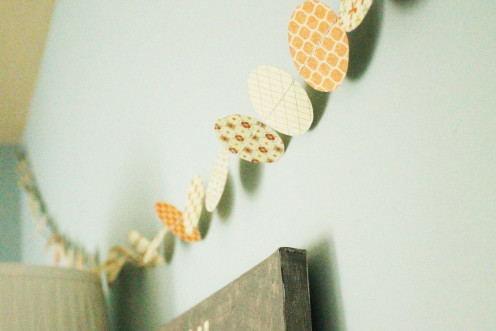
#5. Hang your bunting.
If you are like me and your husband isn't always readily available, I resort to 3M hooks often. This time we hung the bunting with nails. We used small framing nails, around 1 1/4" long. These are just long enough to go through the drywall and into the stud beneath, leaving about 3/8" left for tying the tread. They also have a small head so you don't notice them after the bunting is hanging.
We nailed about 1/2" to 3/4" from the corner of the wall. Since this area is very likely to have a stud beneath, you will have a firm foundation. It doesn't matter if you place your nail at the very top near the ceiling or lower - there should still be a stud there. You will know you hit a stud if the nail has to be pounded in. If it's only in drywall, the entire nail will disappear into the wall after a few easy taps with a hammer.


